TrueNAS SCALE Nightly Development Documentation
This content follows experimental early release software. Use the Product and Version selectors above to view content specific to a stable software release.
Nextcloud
7 minute read.
Last Modified 2024-05-13 14:54 EDTCommunity applications are created and maintained by members of the TrueNAS community. Similarly, community members actively maintain application articles in this section. Click Edit Page in the top right corner to propose changes to this article.
Nextcloud is a drop-in replacement for many popular cloud services, including file sharing, calendar, groupware and more. One of its more common uses for the home environment is serving as a media backup, and organizing and sharing service. This procedure demonstrates how to set up Nextcloud on TrueNAS SCALE, and configure it to support hosting a wider variety of media file previews, including High Efficiency Image Container (HEIC), MP4 and MOV files. The instructions in this article apply to SCALE 22.12.0 and later.
Before using SCALE to install the Nextcloud application you need to create four datasets to use as storage for the Nextcloud application.
If you are creating a new user account to manage this application or using the local administrator account, enable sudo permissions for that account.
If creating a new user for Nextcloud, add the user to the dataset ACL permissions.
If you want to use a certificate for this application, create a new self-signed CA and certificate, or import the CA and create the certificate if using one already configured for Nextcloud. A certificate is not required to deploy the application.
Set up an account with Nextcloud if you don’t already have one. Enter this user account in the application configuration.
In this procedure you:
Add the storage for Nextcloud to use.
Install the Nextcloud app in SCALE.
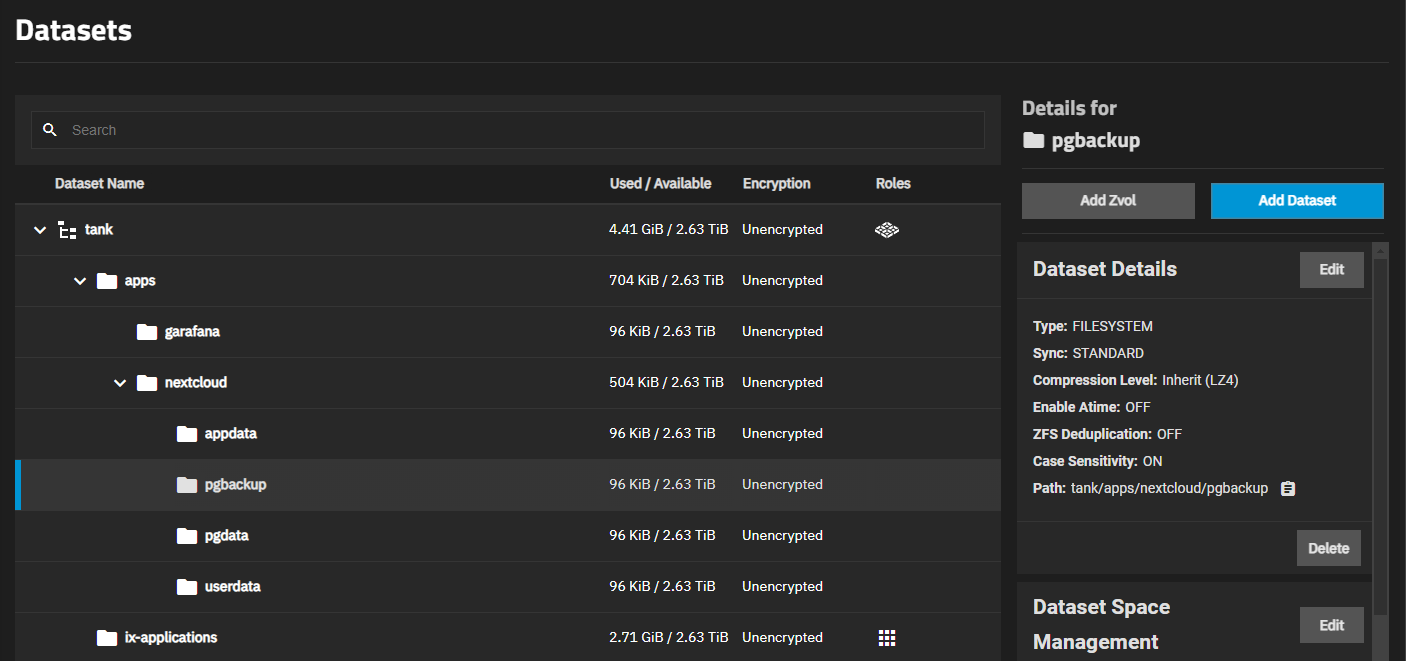
Nextcloud needs five datasets. A primary dataset for the application (nextcloud) with four child datasets. The four child datasets are named and used as follows:
- appdata that contains HTML, apps, custom_themes, config, etc.
- userdata that contains the actual files uploaded by the user
- pgdata that contains the database files.
- pgbackup that contains the database backups
SCALE creates the ix-applications dataset in the pool you set as the application pool when you first go to the Apps screen. This dataset is internally managed, so you cannot use this as the parent when you create the required Nextcloud datasets.
To create the Nextcloud app datasets, go to Datasets, select the dataset you want to use as the parent dataset, then click Add Dataset to add a dataset. In this example, we create the Nextcloud datasets under the root parent dataset tank.
Enter nextcloud in Name, select Apps as the Dataset Preset. Click Advanced Options to make any other setting changes you want to make, and click Save. When prompted, select Return to Pool List.
Next, select the nextcloud dataset, click Add Dataset to add the first child dataset. Enter appdata in Name and select Apps as the Dataset Preset. Click Advanced Options to make any other setting changes you want to make for the dataset, and click Save.
Repeat this three more times to add the other three child datasets to the nextcloud parent dataset. When finished you should have the nextcloud parent dataset with four child datasets under it. Our example paths are:
- /mnt/tank/nextcloud/appdata
- /mnt/tank/nextcloud/userdata
- /mnt/tank/nextcloud/pgdata
- /mnt/tank/nextcloud/pgbackup
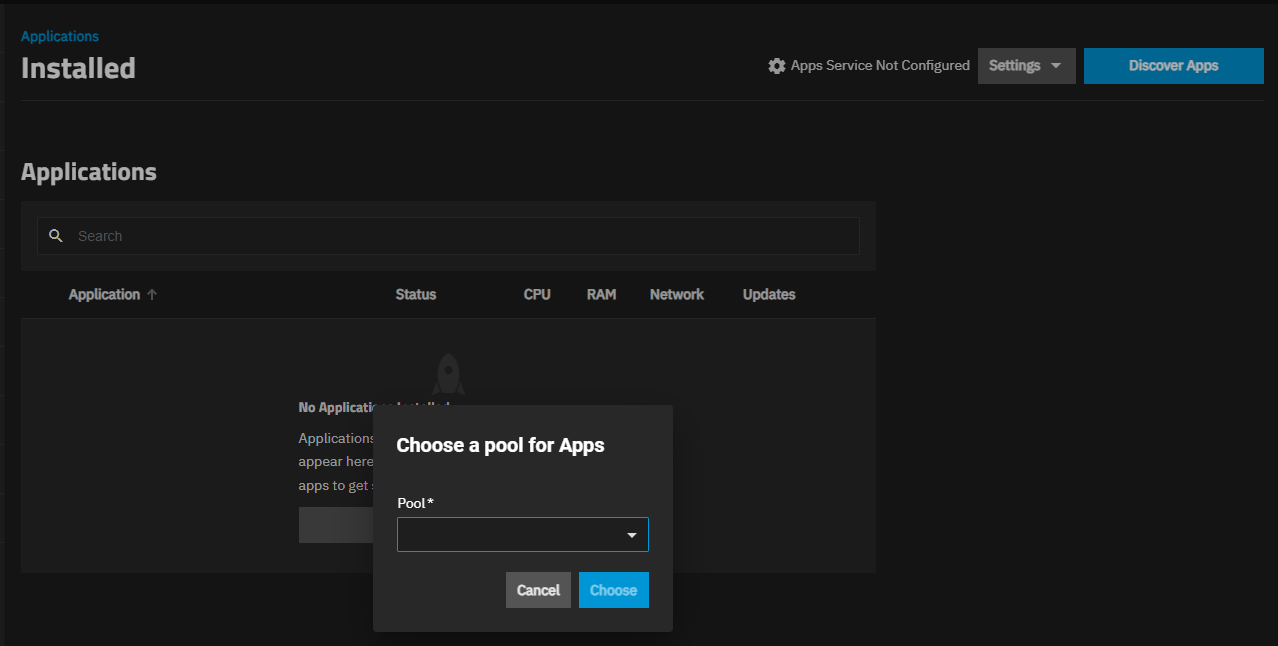
Go to Apps. If the pool for apps is not already set, do it when prompted.
When set, the Installed Applications screen displays Apps Service Running on the top screen banner.
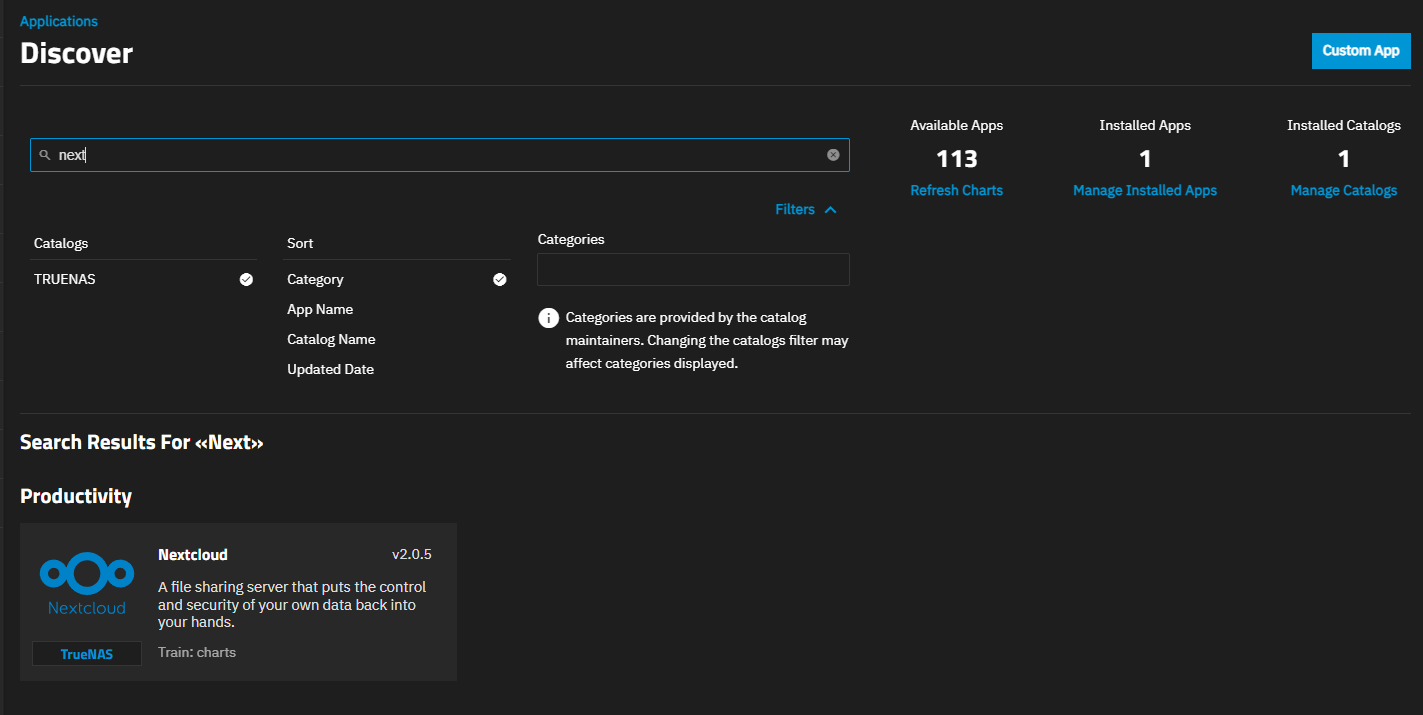
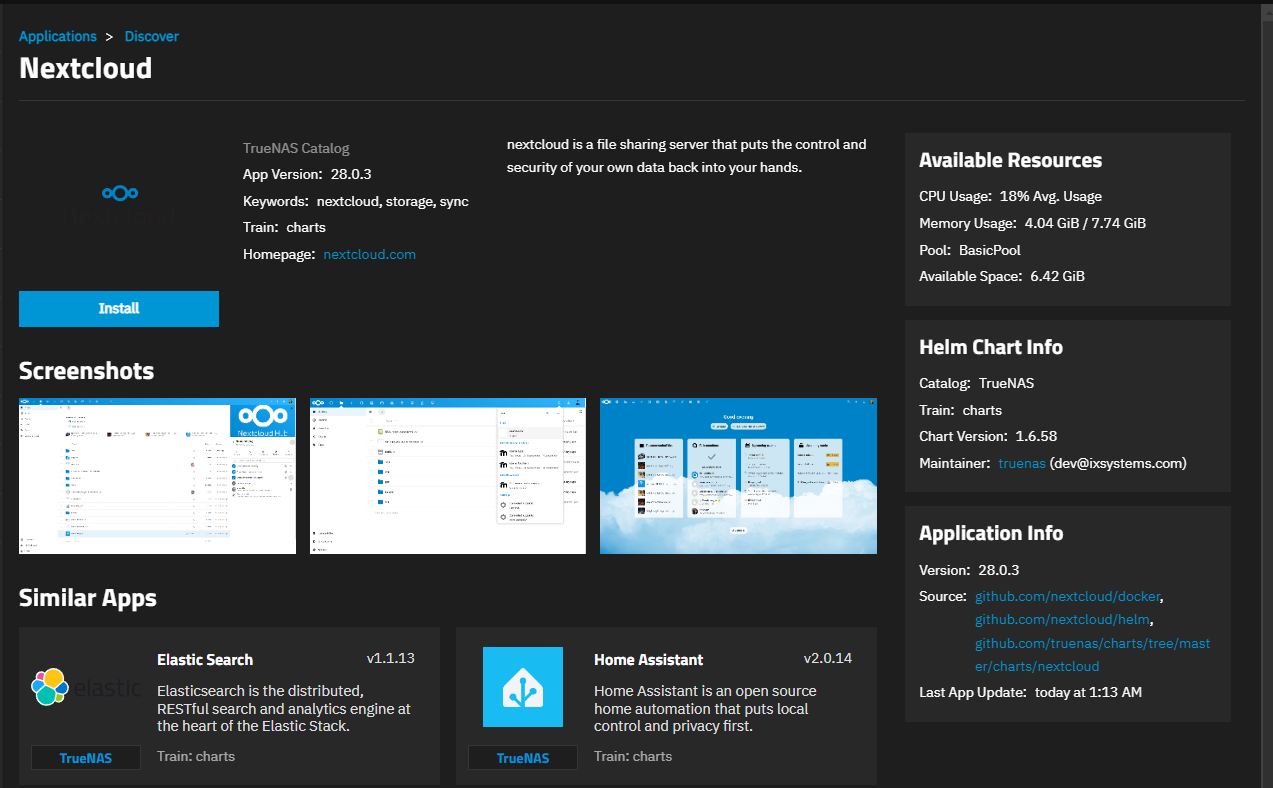
Click Discover Apps and then locate the Nextcloud app. Change the Sort to App Name, then type Nextcloud in the search field to display the app widget.
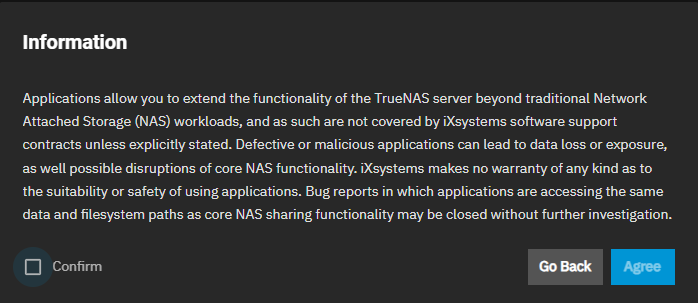
Click on the widget to open the Nextcloud details screen, then click Install. If this is the first application installed, SCALE displays a dialog about configuring apps.
Click Confirm then Agree to close the dialog and open the Nextcloud details screen opens.
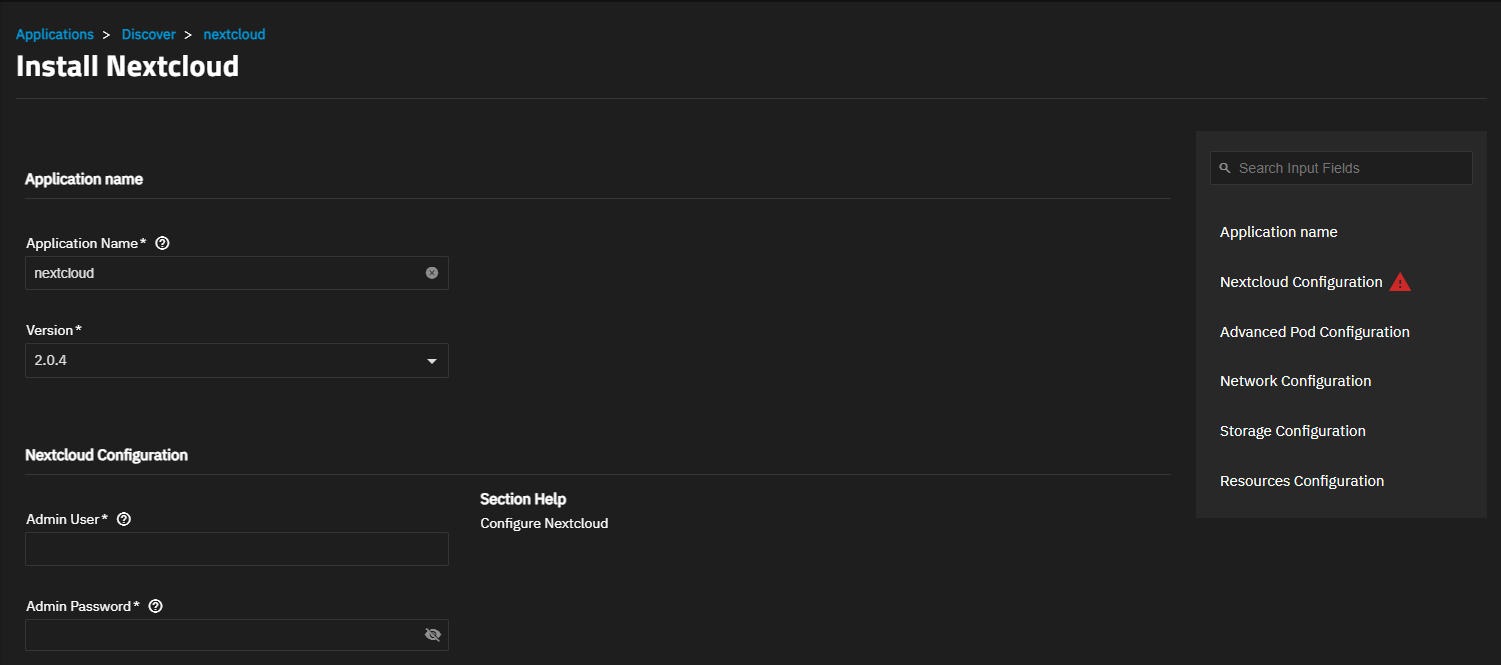
Click Install to open the Install Nextcloud wizard.
Accept the default name for the app in Application Name or enter a new name if you want to change what displays or have multiple Nextcloud app deployments on your system. This example uses the default nextcloud.
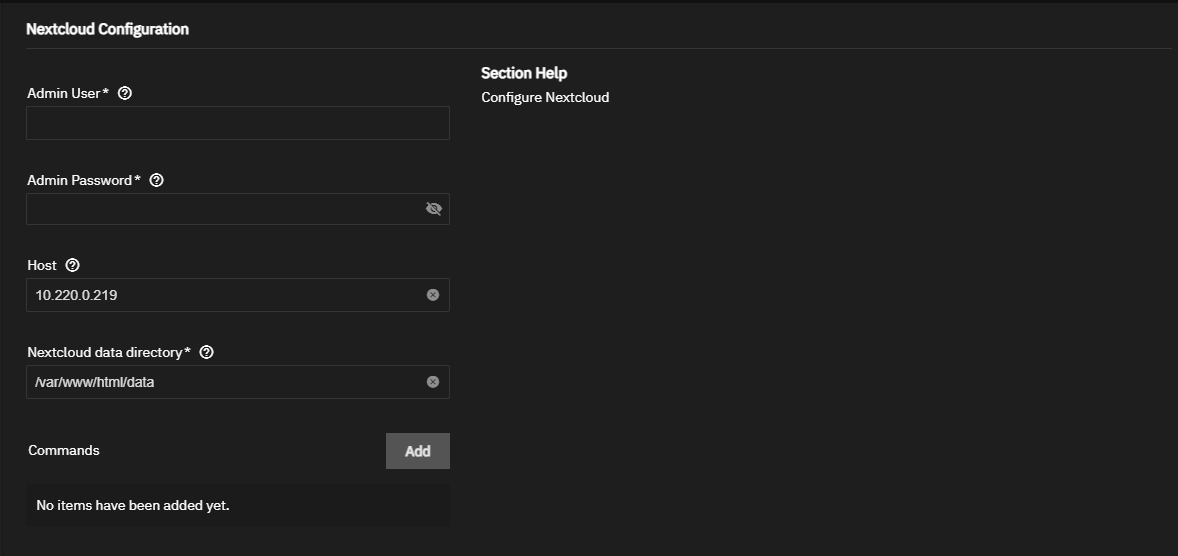
Scroll down to or click on Nextcloud Configuration to show the app configuration settings. For a basic installation you can leave the default values in all settings except Username and Password.
a. Enter the username and password created in the Before You Begin section or for the existing Nextcloud administrator user account credentials. This example uses admin as the user.
TrueNAS populates Host with the IP address for your TrueNAS server and Nextcloud data directory populates with the correct path.
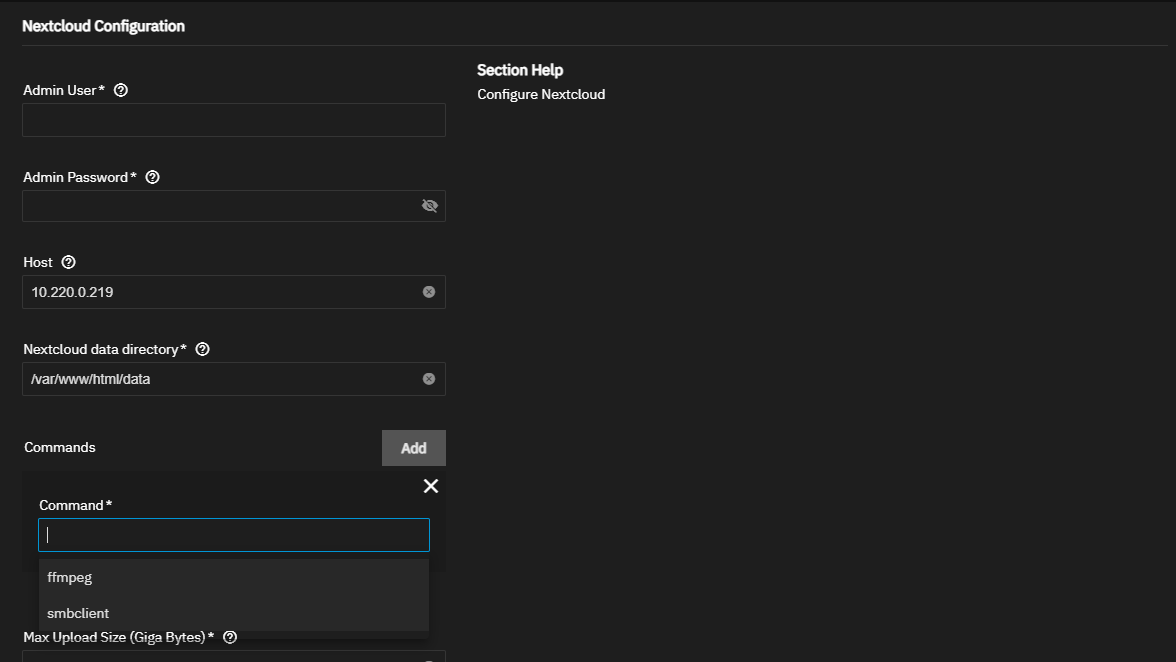
b. Click Add to the right of Command to show the Command field then click in that field and select Install ffmpeg to automatically install the FFmpeg utility when the container starts.
c. (Optional) Click in the Certificate Configuration field and select the certificate for Nextcloud if already created and using a certificate.
d. Leave Cronjobs selected which enables this by default. Select the schedule you want to use for the cron job option.
e. To specify an optional Environment Variable name and value, click the Add button.
Accept the port number TrueNAS populates in the Web Port field in Network Configuration.
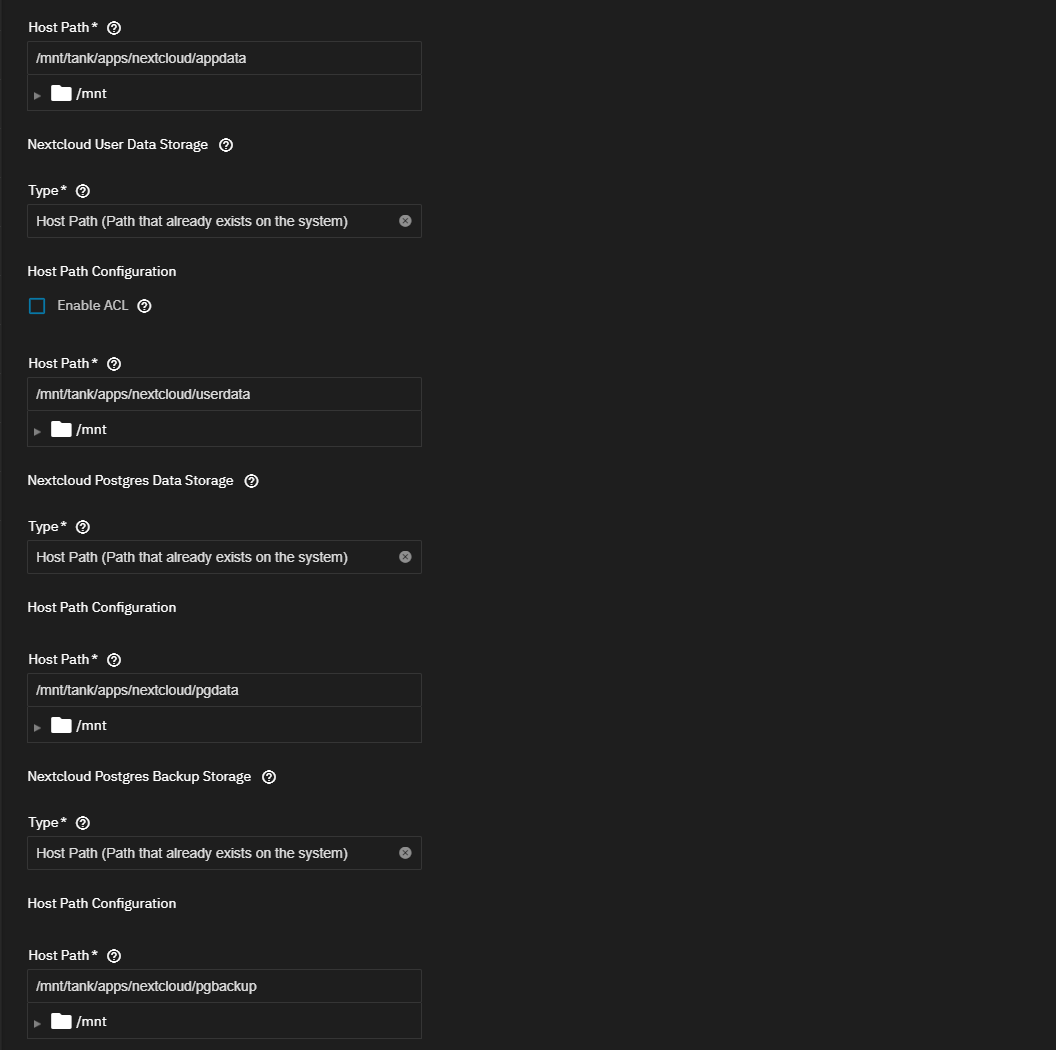
Enter the storage settings for each of the four datasets created for the Nextcloud app.
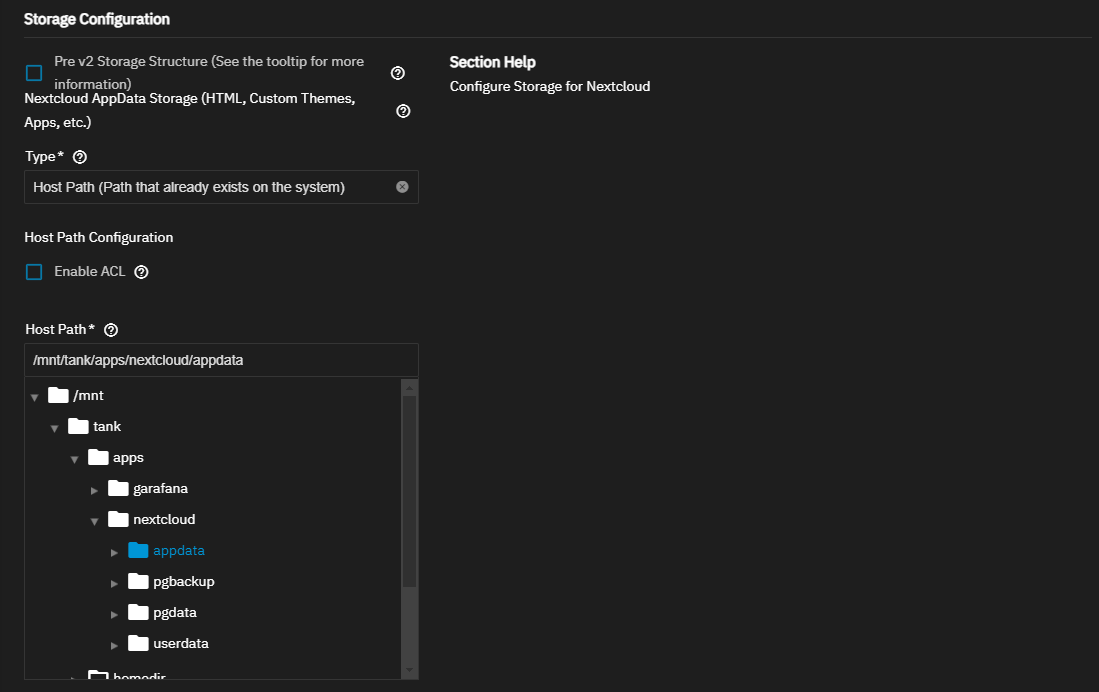
Do not select Pre v2 Storage Structure if you are deploying Nextcloud for the first time as this slows down the installation and is not necessary. If you are upgrading where your Nextcloud deployment in SCALE was a 1.x.x release, select this option.
a. Select Host Path (Path that already exists on the system) in Type, then browse to and select the appdata dataset to populate the Host Path for the Nextcloud AppData Storage fields.
You can set the ACL permissions here by selecting Enable ACL but it not necessary. You can also change dataset permissions from the Datasets screen using the Edit button on the Permissions widget for the Nextcloud Data dataset.
b. Select Host Path (Path that already exists on the system) in Type, then browse to and select the userdata dataset to populate the Host Path for the Nextcloud User Data Storage fields.
c. Scroll down to the Nextcloud Postgres Data Storage option. Select Host Path (Path that already exists on the system) in Type, then browse to and select the pgpdata dataset to populate the Host Path.
d. Scroll down to Nextcloud Postgres Backup Storage, select Host Path, and then enter or browse to the path for the pgbbackup dataset. When complete, the four datasets for Nextcloud are configured.
Accept the remaining setting defaults.
Scroll up to review the configuration settings and fix any errors or click Install to begin the installation.
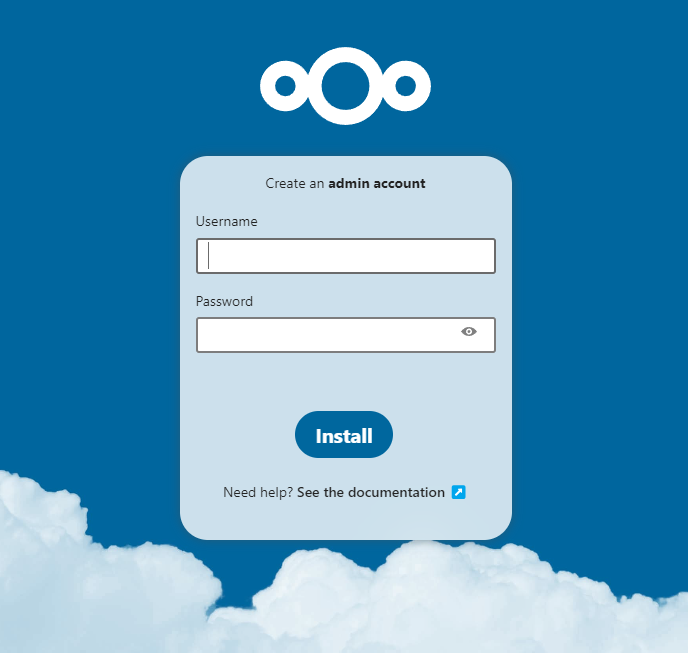
The Installed screen displays with the nextcloud app in the Deploying state. It changes to Running when ready to use. Click Web Portal on the Application Info widget to open the Nextcloud web portal sign-in screen.
There are known issues with Nextcloud app releases earlier than 2.0.4. Use the Upgrade option in the SCALE UI to update your Nextcloud release to 2.0.4. For more information on known issues, click here.
For information on Nextcloud fixes involving TN Charts, see PR 2447 nextcloud:fixes
If the app does not deploy, try adding the www-data user and group to the /nextcloud dataset but do not set recursive. Stop the app before editing the ACL permissions for the datasets.
Next, add the www-data user and group to the /nextcloud/data dataset. You can set this to recursive, but it is not necessary. To do this:
- Select the dataset, scroll down to the Permissions widget, click Edit to open the ACL Editor screen.
- Click Add Item, select User in Who and www-data in the User field, and select Full Control in Permissions.
- Add an entry for the group by repeating the above steps but select Group.
- Click Save Access Control List.


